Showing posts with label photoshop. Show all posts

Tuesday, 16 December 2014

Clone Stamp Tool

The clone stamp tool is a photoshop tool that allows you to, in affect to very quickly and easily copy one area of an image and paste it onto another area of an image. Below are a couple of images i have produced to show how well it can be used.

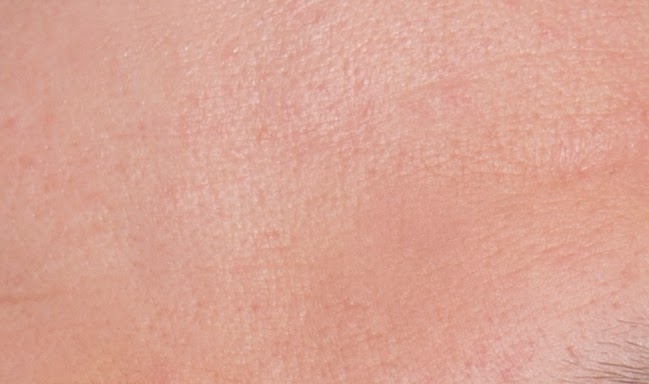
Here is an image of somebody's forehead with a tiny bit of eye brow in the bottom right I included for context.


These two images represent how the clone stamp tool may be used, the top image is pre-use and the lower image is after-use. Although I am using it here for portraiture work it is possible to incorporate anywhere. 

The basic controls are as explained below:


1) Select the icon as shown: 


2) Hold alt and click - to select the part of the image you would like to clone

3) let go of alt and click on the place you would like the cloned part of the image to be pasted.

Finished

However, you can improve the effectiveness of the tool by incorporating the use of brush sizes, hardness, softness and layer modes etc to tailor the results to your own needs.

Thanks for reading ! Feel free to check out my website at: www.josephrigbyphotography.co.uk

Saturday, 6 December 2014

Photoshop - Layer Manipulation and Restoring Symmetry to the Face


Above is the original image of a headshot I took for a client. Unfortunately, in this photograph her left eye was a little squinty due to the power of the flash heads. To make up for my own short comings I decided to try and remove the squint of her left eye. 

So, I began searching for a method to make her face more symmetrical. After a few moments of consideration I duplicated the original image, mirrored it and rotated it slightly, in this way I was able to match it's position fairly realistically. I then added a layer mask to the second, mirrored and duplicated image and began using the brush tool to mask out parts of the image I didn’t want. By editing the opacity, shape and hardness of the brush tool, I was able to use it more effectively. I tended to use very soft strokes so the gradation between the added layer and the original image below became invisible.

I then continued with the manipulation of the image by removing any blemishes with the healing brush tool and editing the colour slightly with a plug in filter. However i found the effects were a little strong and decided to reduce the opacity of the filter to 14%, giving it a much more subtle effect. below is the final result:

Thanks for reading ! and feel free to check out my website at: www.josephrigbyphotography.co.uk

Layers and Blend modes in Photoshop

A brief insight into how I created a couple of improvised album covers on photoshop using layers, the shape tool and blend modes.


I began creating my “Alt-J” album cover by first taking the image ( a photograph I took at the hot springs in Rotorua, NZ) above and duplicating it 5 times. I proceeded by using the custom shape tool on each of the duplicated layers to make selection paths and cut my selected areas from the image, Each time I pasted the part of the image I had cut  out, back on top of the background layers. At this point I had pasted one full circle, two outlined circles and one outlined triangle; each with their separate layer and I arranged them so they were above my two original unedited background images ^. 

This is when I began altering the layer modes of the shapes and top background image, I also used various adjustment layers and the brush tool to mask out areas of each of the layers and adjustment layers I did not want to affect the image. After i was happy with the results, I added the text and below is the final version: